6-mile Hex Map
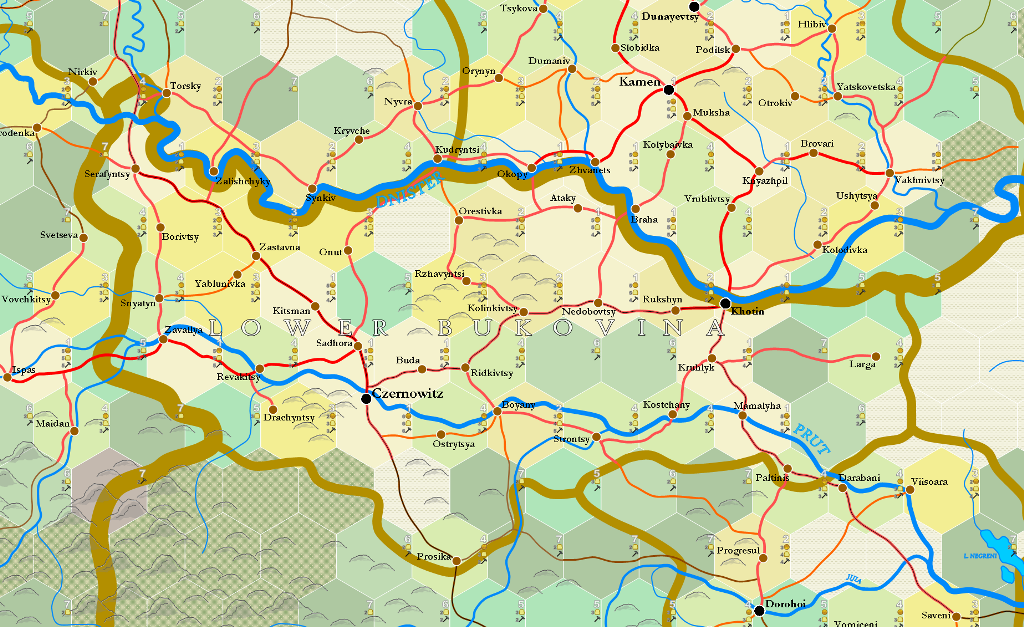
6-mile hex maps are zoomed-in maps derived from 20-mile hex maps, using a complex procedure of map drawing and random generation deriving from a map's infrastructure and real-world topography and place names.
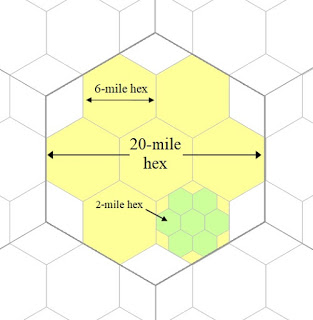
The designation "6-mile" is an inaccurate description. 6-mile hexes are derived from splitting a 20-mile hex, as shown in the image below, and are in fact 6.67 mi. in diameter, not six. Nonetheless, the "6-mile" appellation is used as a simplification.
Generation Procedure
Once the infrastructure of a given 20-mile hex has been determined, and all of its surrounding hexes as well, it's possible to create a rectangular "section" of 6-mile hexes.
This section includes two 20-mile hexes. Each 20-mile hex, everywhere in the world, is designated according to the latitude and longitude it represents. This enables us to locate that section on GoogleEarth.
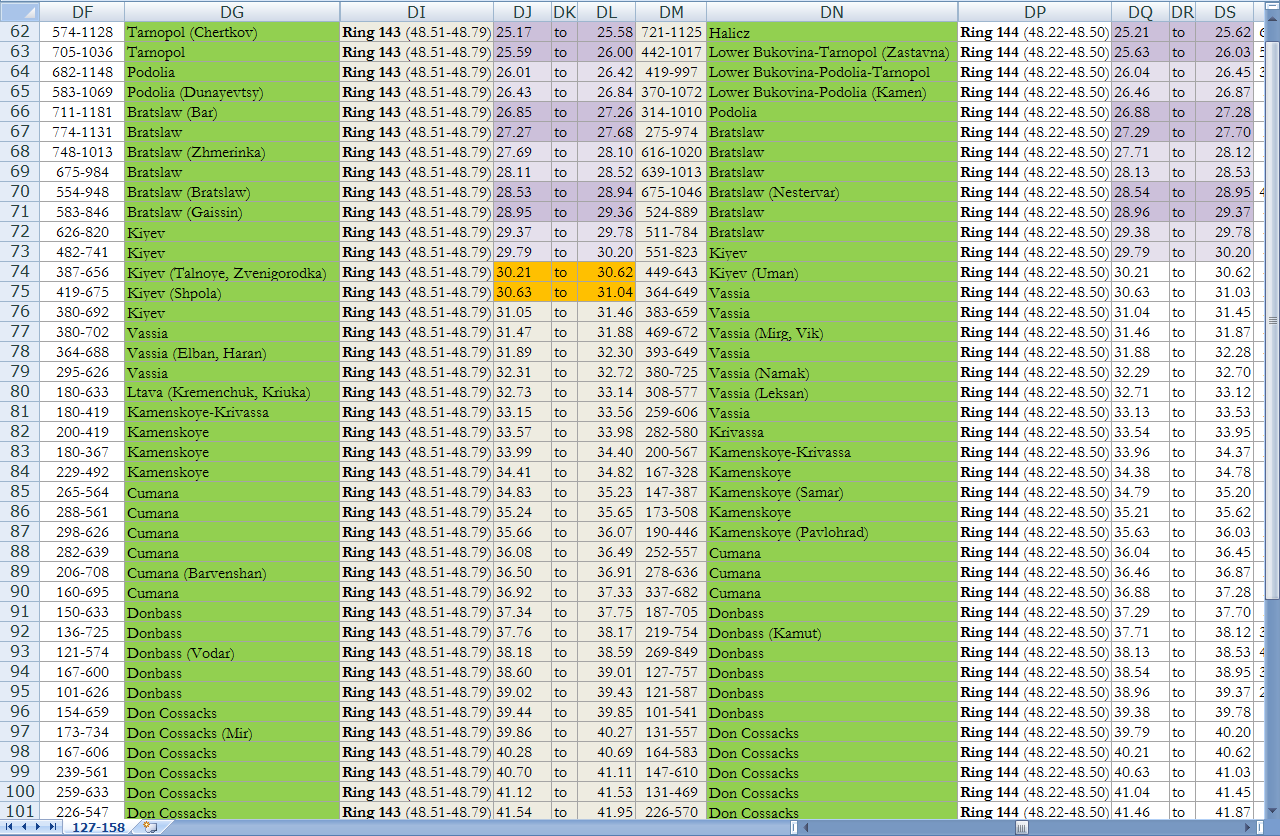
The image on the right provides a cacophony of numbers that we use to identify which hex falls into which set of coordinates. These are organised by "rings," the number of hexes this particular line of hexes is from the North Pole (ring 1). In the image shown, "ring 143" indicates the North Pole is 142 x 20 miles away. The latitude of ring 143 is between 48.51 N and 48.79 N. The left-hand hex, containing the settlement of Uman in Kiyev, has a longitude between 30.21 E and 30.62 E. The right-hand hex, in Vassia, has a longitude between 30.63 E and 31.04 E.
These coordinates are in decimal format, while GoogleEarth comprehends coordinates in degrees, minutes and seconds. So these numbers have to be translated - and, to save time, put into a format that can be copied and pasted into the GoogleEarth search window.
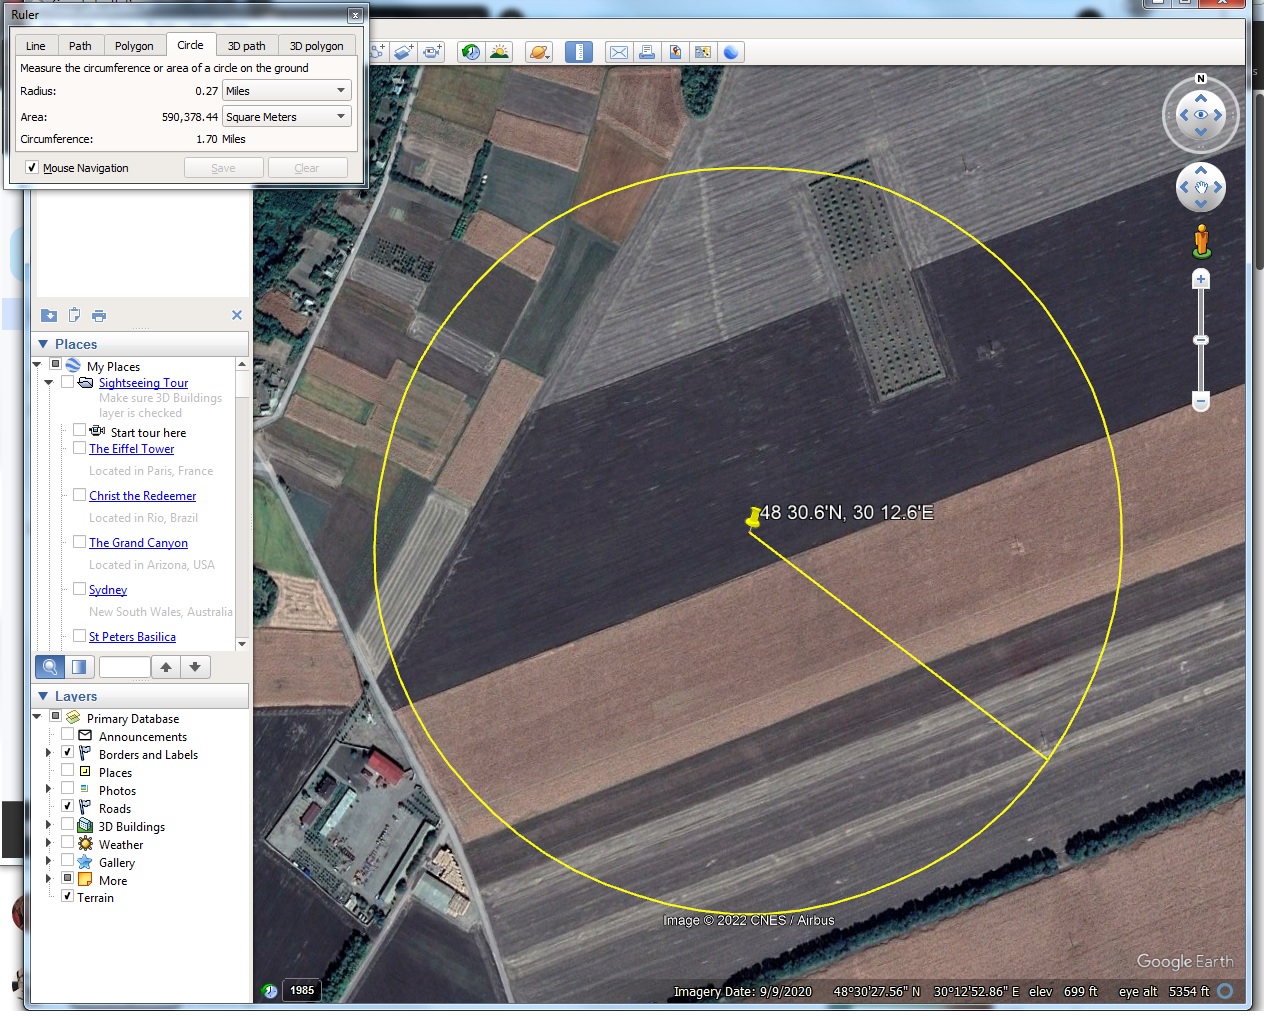
Thus we draw out the four corners of both orange-coloured hexes on the table below, showing the excel formulas we'll use and a final column for "pastable" answer. This last can be copied and pasted into the GoogleEarth search window and it will take us right to the correct spot. For anyone familiar with GoogleEarth, it's fascinating to watch the program zoom into the data once it's entered, bringing us close up to a group of trees, a mountain, a little village or a field:
| Description | Degrees | Minutes | Direction | Seconds | Four Points | Pastable |
|---|---|---|---|---|---|---|
| low latitude | 48 | 51 | N | =C2*0.6 | =$B$2&" "&$E$2&"'"&$D$2&", "&$B$4&" "&$E$4&"'"&$D$4 | 48 30.6'N, 30 12.6'E |
| high latitude | 48 | 79 | N | =C3*0.6 | =$B$3&" "&$E$3&"'"&$D$3&", "&$B$4&" "&$E$4&"'"&$D$4 | 48 47.4'N, 30 12.6'E |
| low longitude | 30 | 21 | E | =C4*0.6 | =$B$2&" "&$E$2&"'"&$D$2&", "&$B$5&" "&$E$5&"'"&$D$5 | 48 30.6'N, 31 2.4'E |
| Bournemouth | 31 | 4 | E | =C5*0.6 | =$B$3&" "&$E$3&"'"&$D$3&", "&$B$5&" "&$E$5&"'"&$D$5 | 48 47.4'N, 31 2.4'E |
Plotting the Section
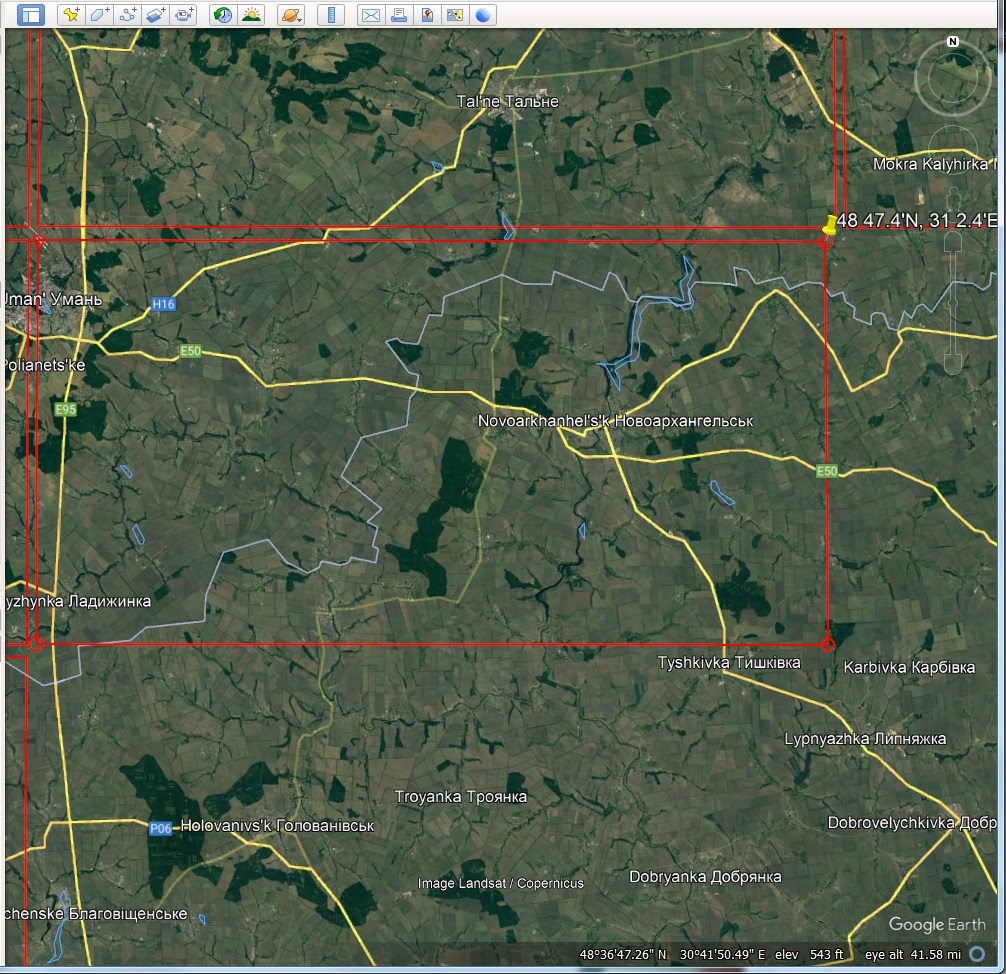
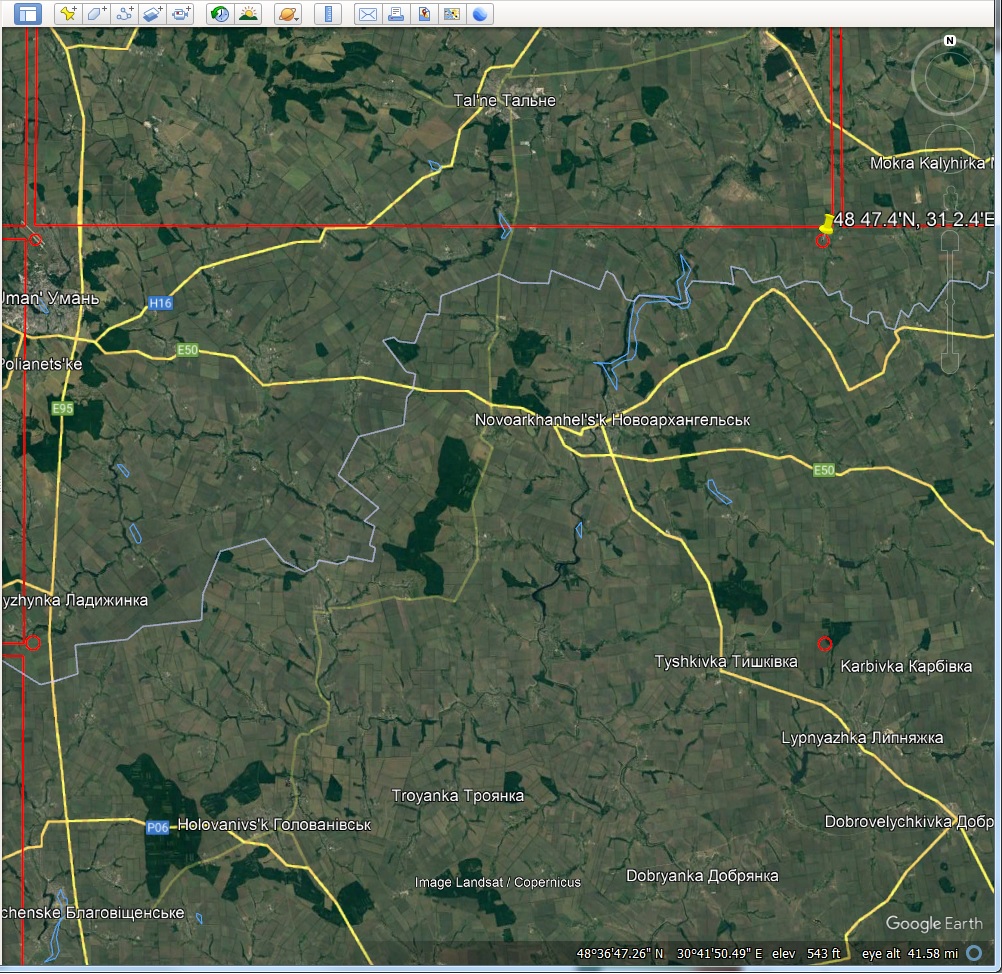
Following the first search, we find ourselves in a field on the edge of a small Ukraine village. We go up to the tool bar and select a "circle" tool and we draw a circle around the section corner point. We plug in each plot point next, making circles as we go, laying out the connect-the-dots set up for drawing a rectangle.
Using the small red circles, we use the "path" tool next to the circle tool and connect the dots, creating our rectangle section. This corresponds with the two 20-mile hexes to be expanded. This section of GoogleEarth gets used for a number of things, so it needs to be saved. On the side toolbar of GoogleEarth, there's a heading called "Temporary Places." The new "Path Measure" we created can be saved by right clicking it. Once it jumps to the "My Places" heading, the four circle measures can be deleted. They've done their job. This part of the process can be left for a moment while we move onto getting the 6-mile map ready.
